".$title.""); ?>

Sunday, November 16, 2008

Root Cellar Update

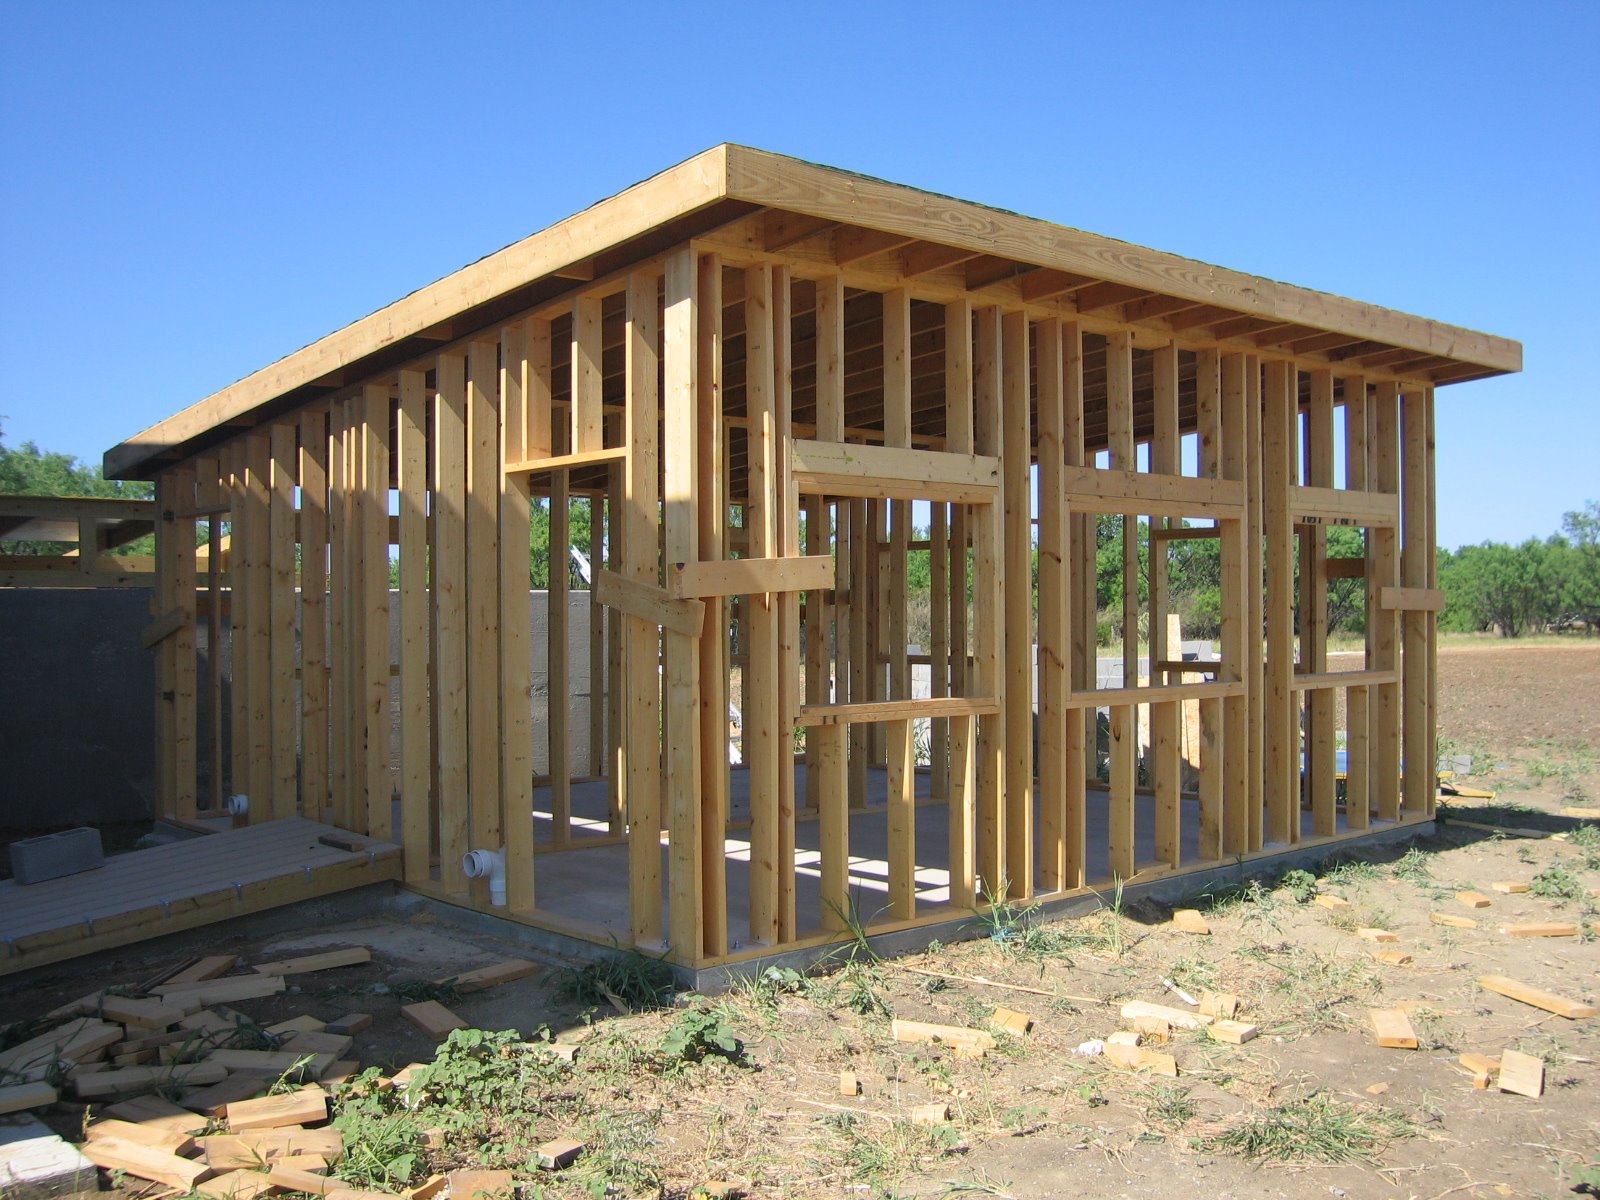
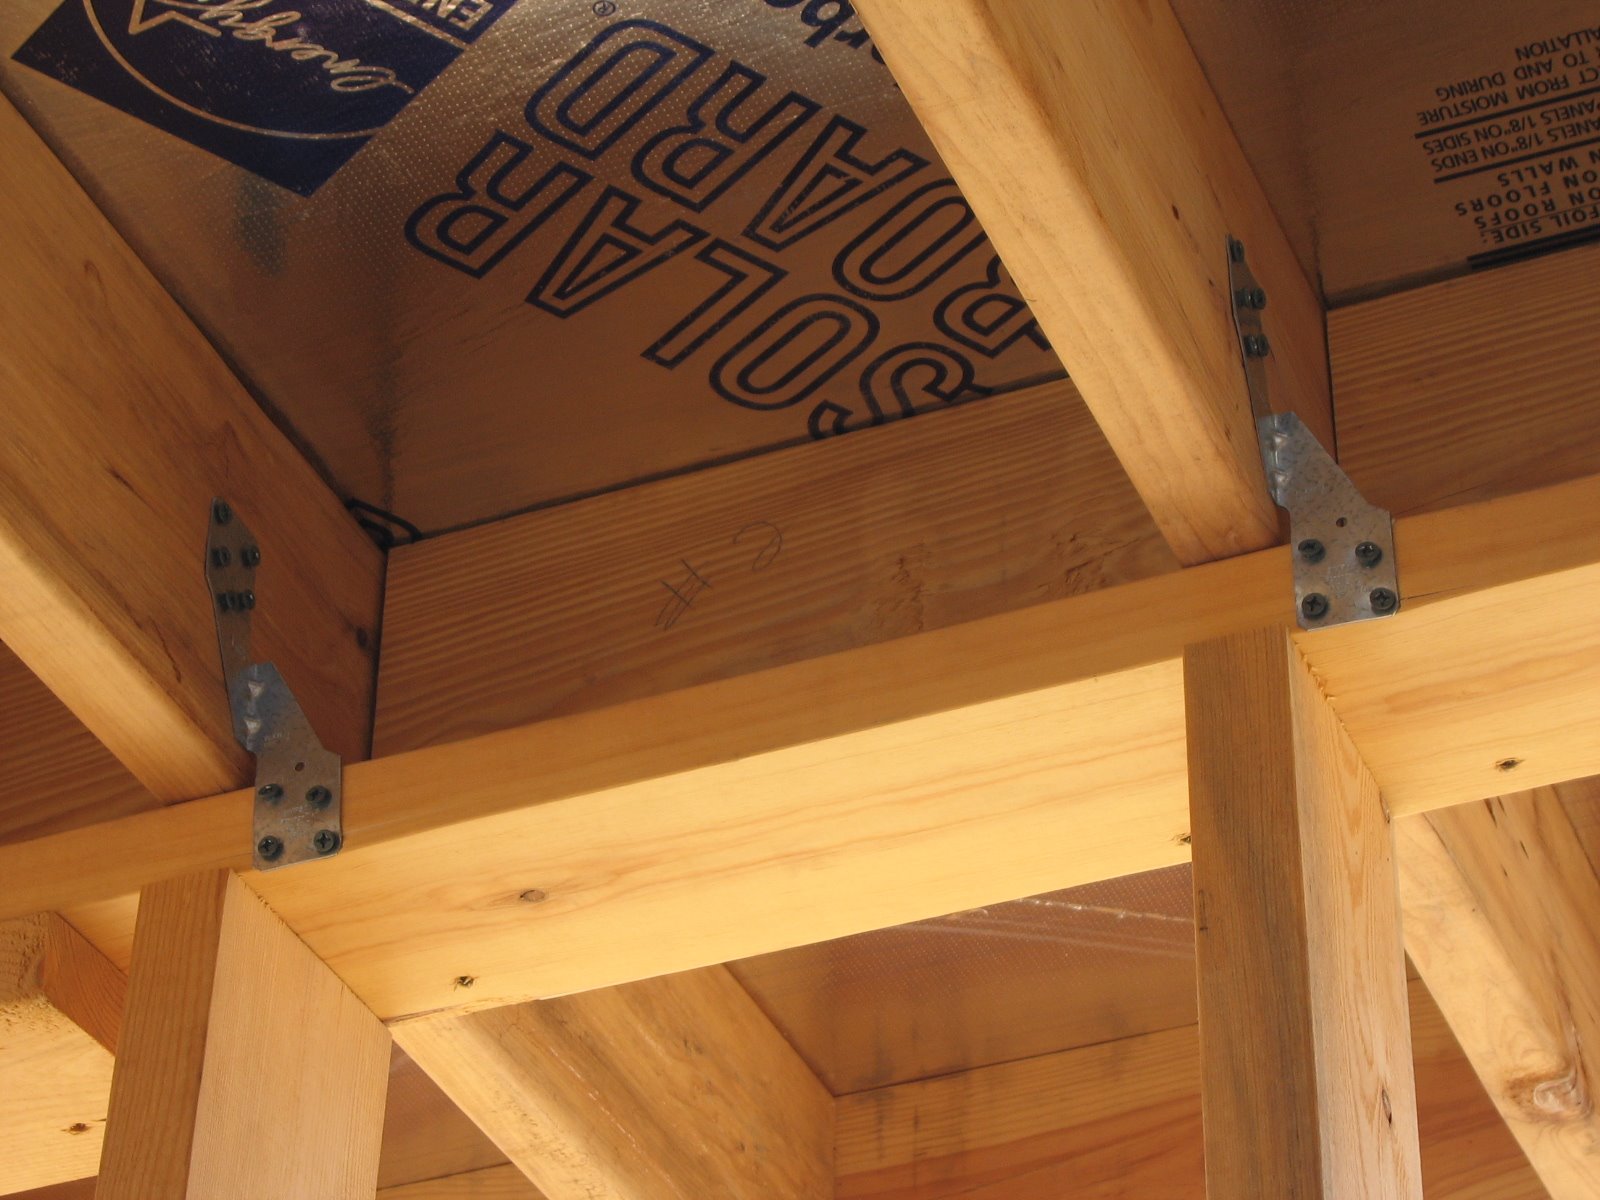
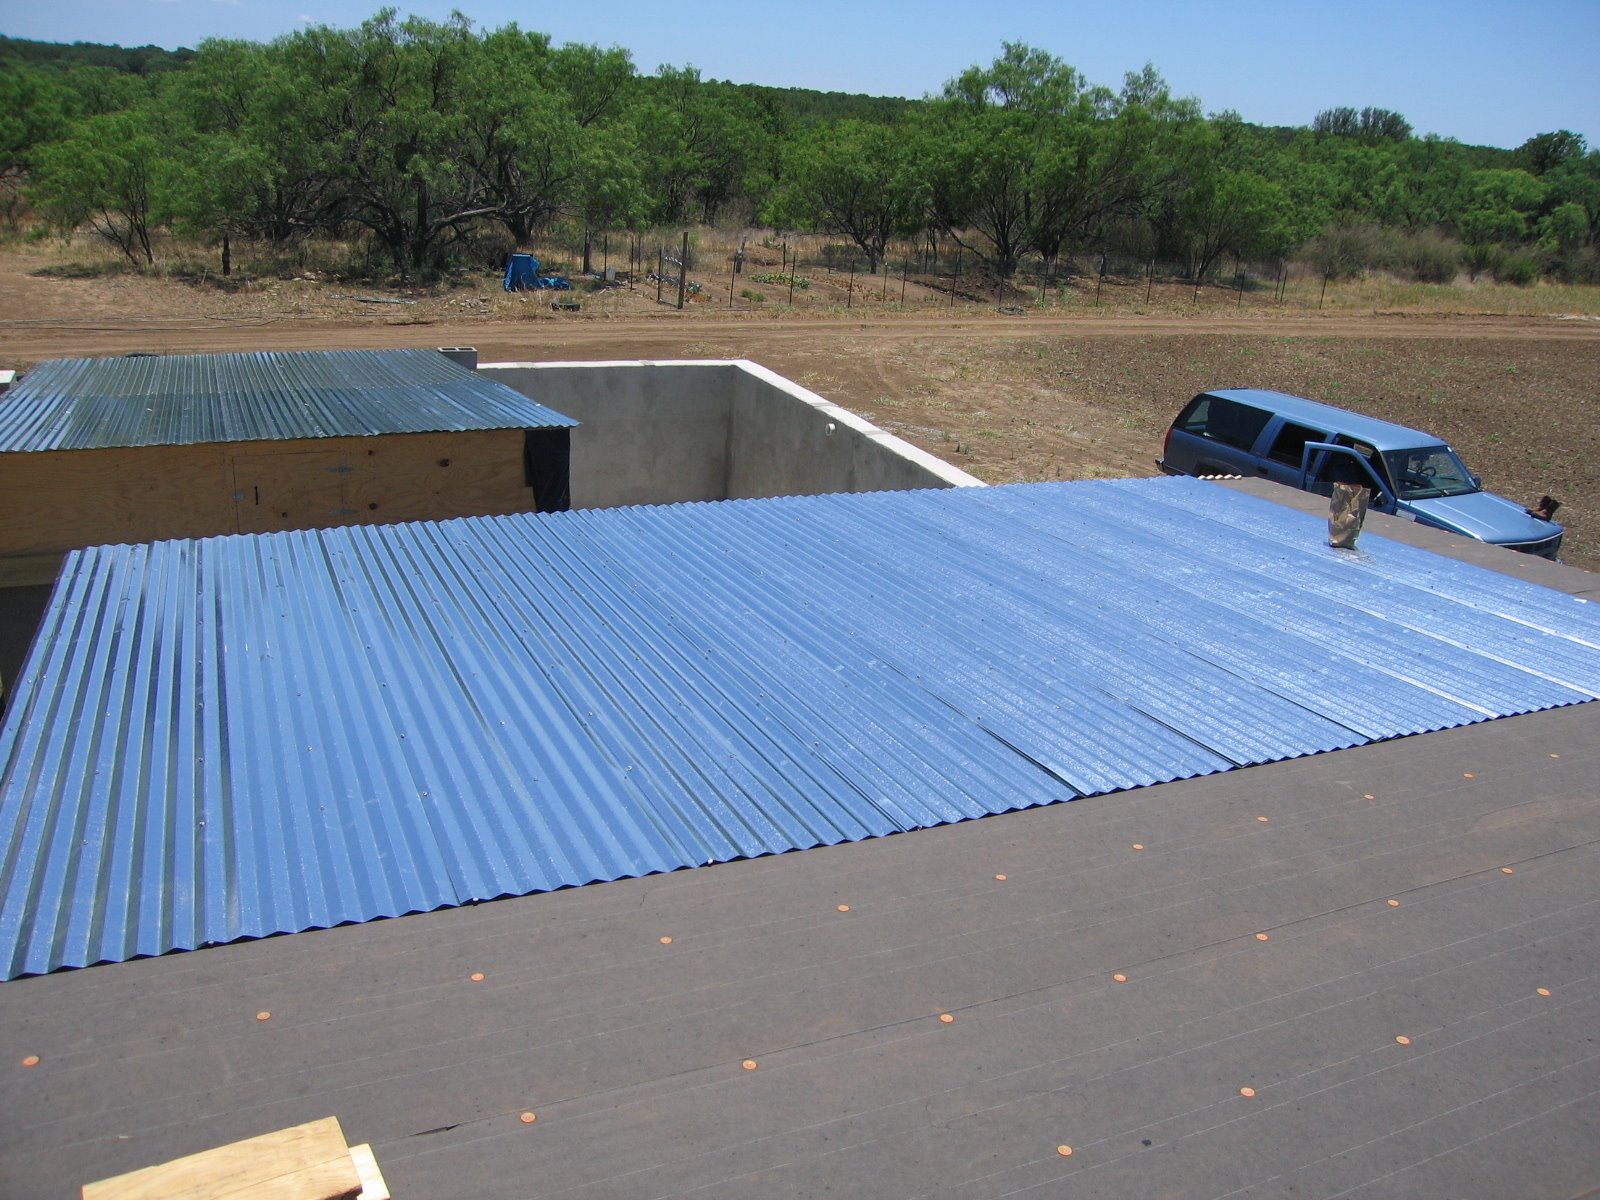
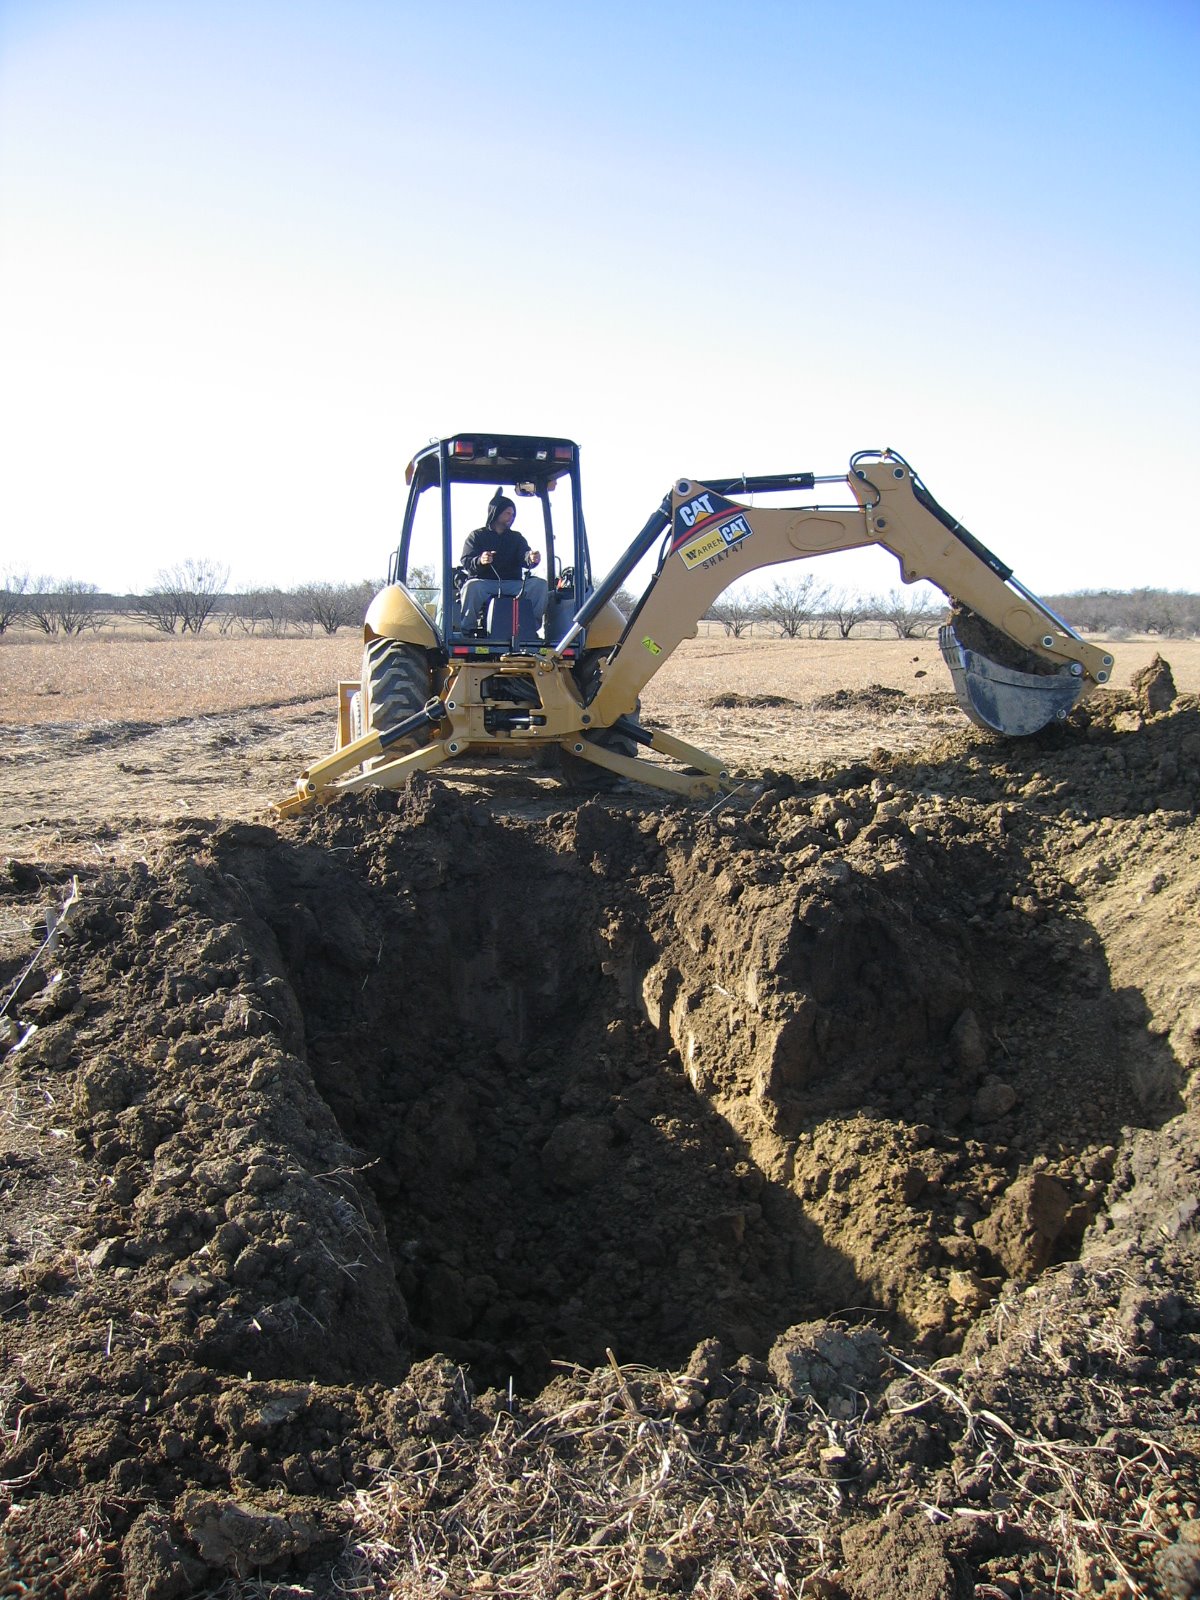
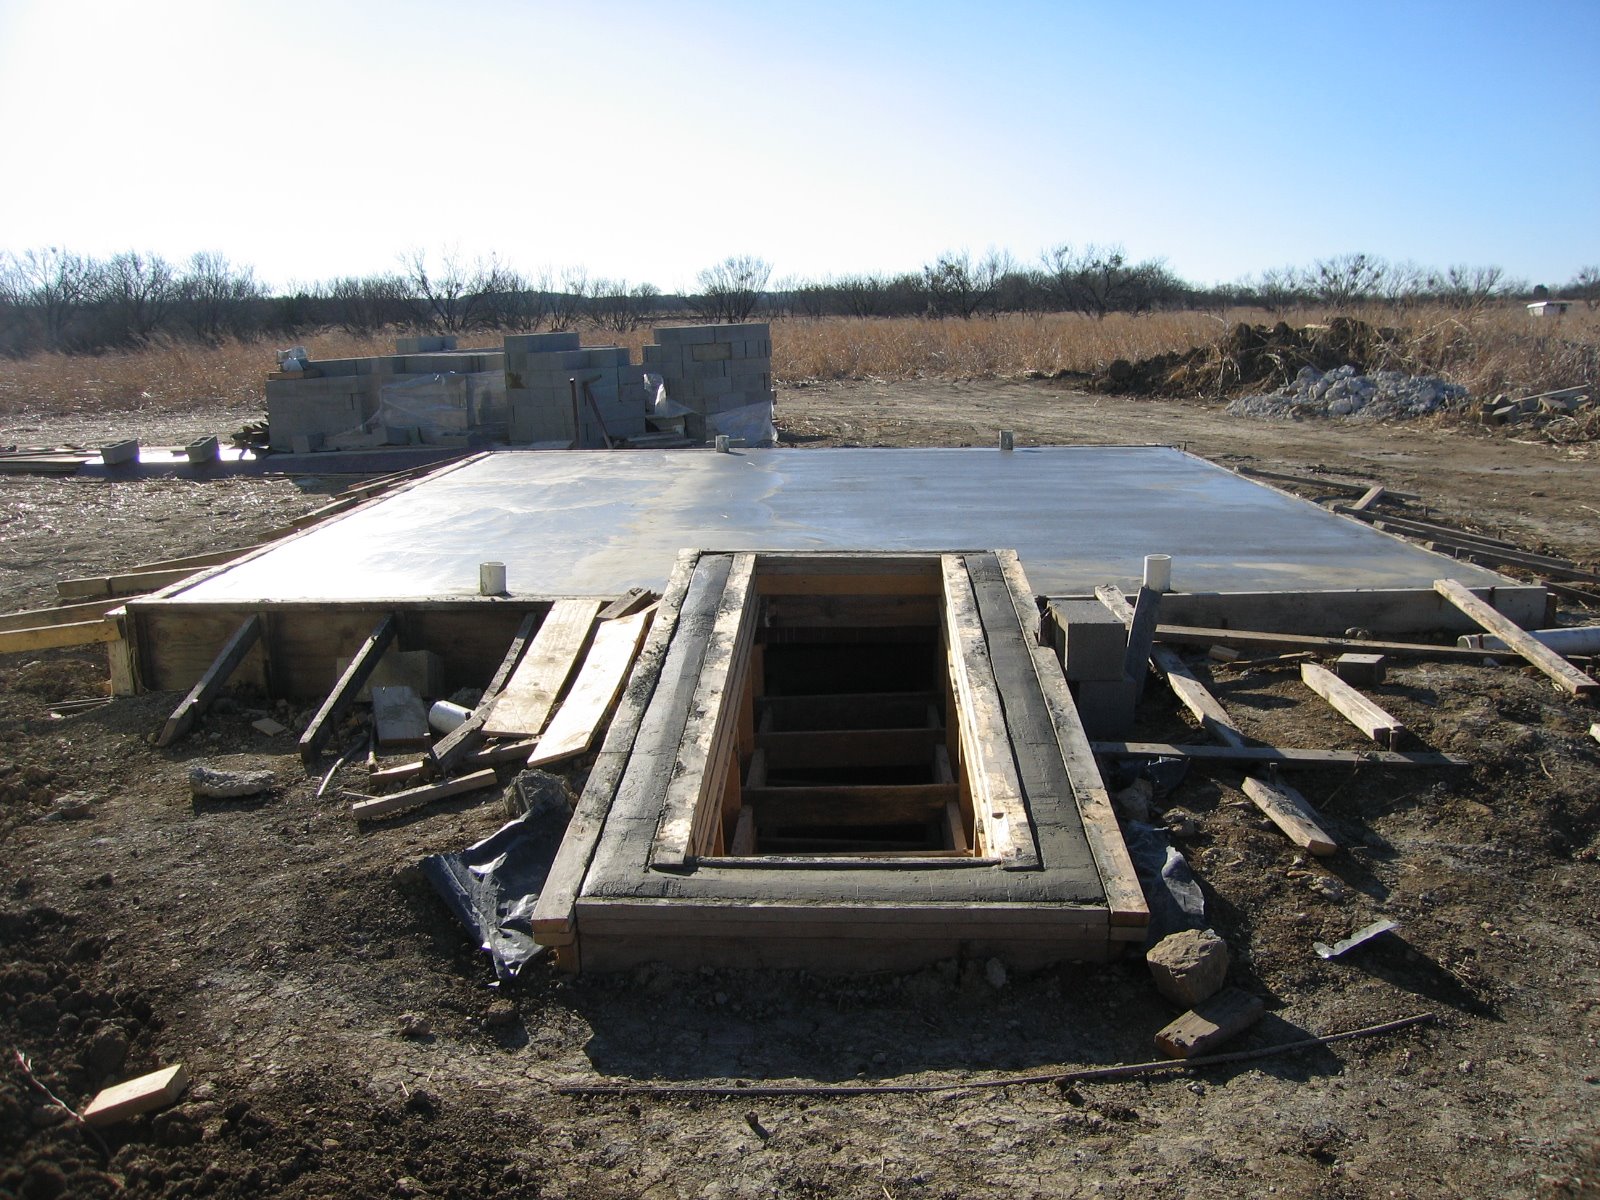
After having the wood for them down in the root cellar for several months now, I was finally at a point to be able to begin to build shelves. When the main root cellar structure was being completed, Michael suggested we leave the concrete forms, made out of wood, in place so that shelving and the like could more easily be attached. Needless to say, it was a good idea, because trying to put shelving up on concrete walls would have been quite difficult; and in consideration that there doesn't seem to be an excess of moisture in our root cellar, installing wood shelves seemed a fine option.

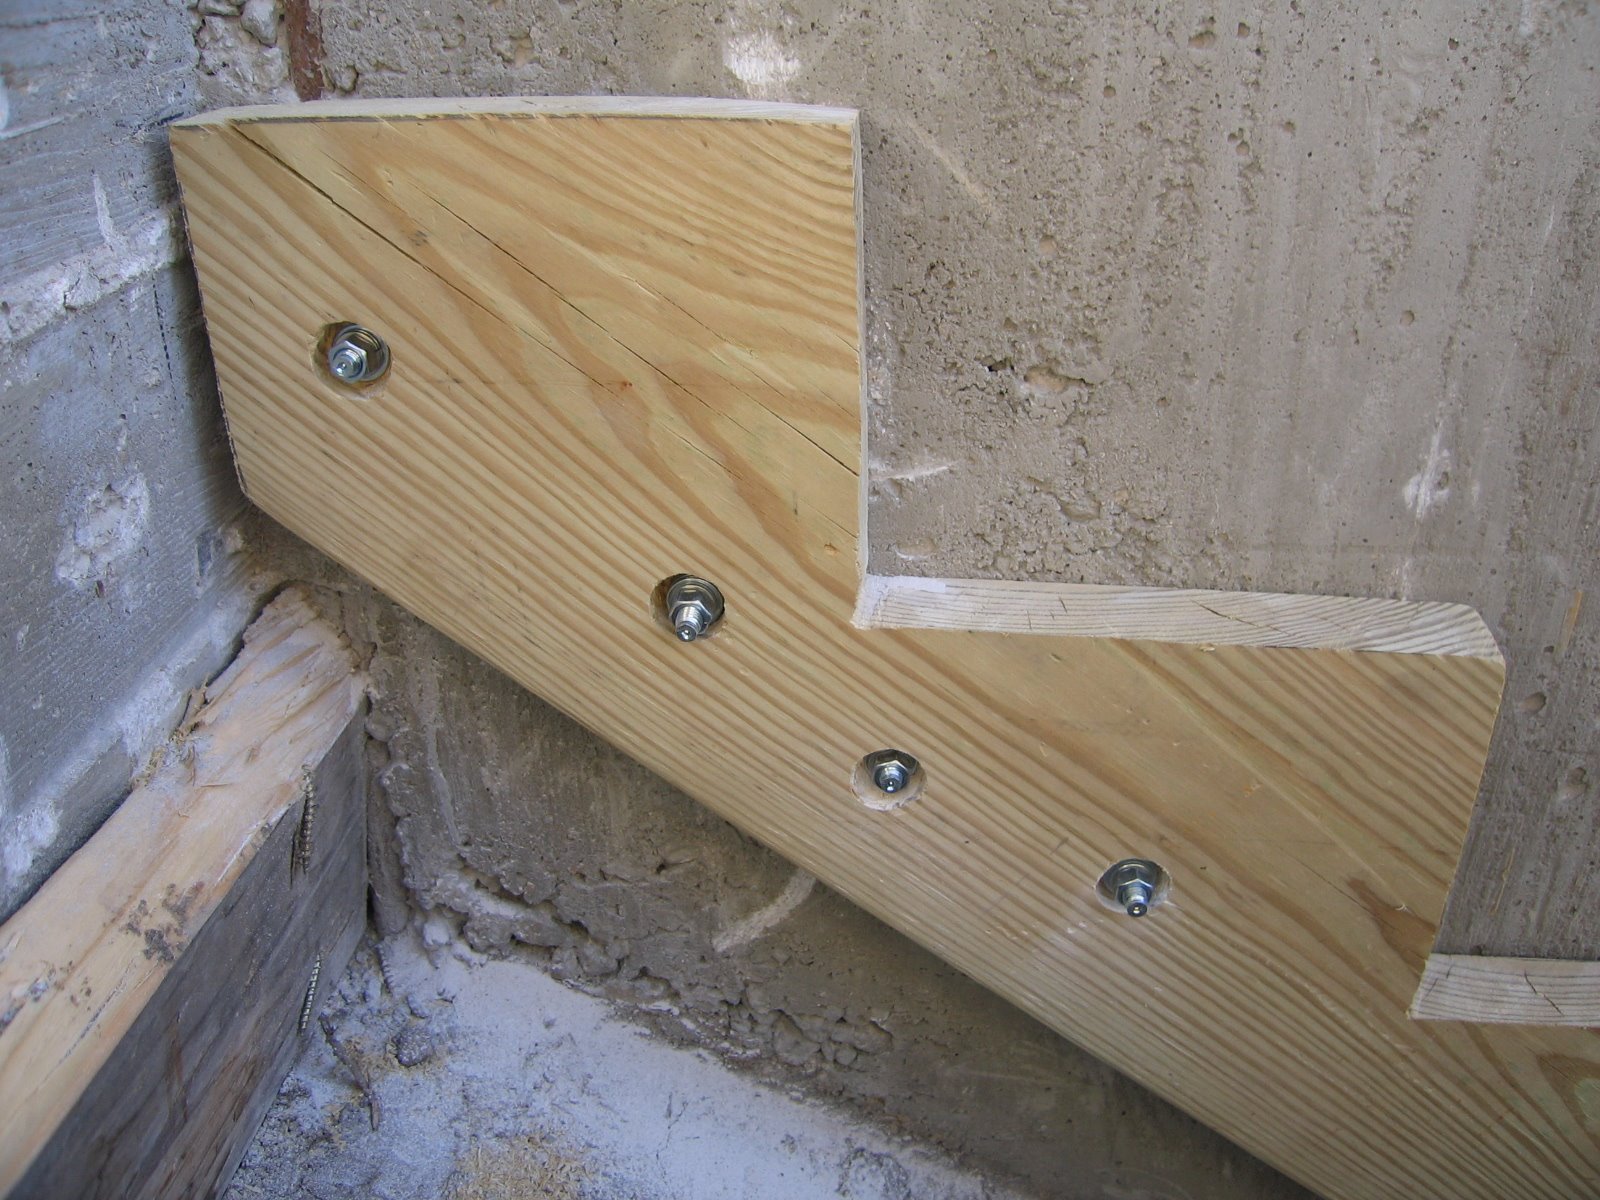
This is how I proceeded. I measured the heights of pint and quart jars and plastic storage buckets and decided to make the distance between shelves 18 inches (from bottom of the upper shelf to top of the lower shelf), to allow jars or cans to be stacked; and I decided to make the shelves 16 inches from the wall to allow for a 4 quart jar or 1 plastic bucket depth on each, and also so that I could cut a 4x8 board into 3 even sections for the tops of the shelves. From there in the actual construction, I attached shelf "arms" to one side to the wall studs (when logistically feasible, making sure each arm was level from the previous one), mounted the front 2x4, and then included four or five 45-degree angle 2x4s on the other sides of the studs for added strength.

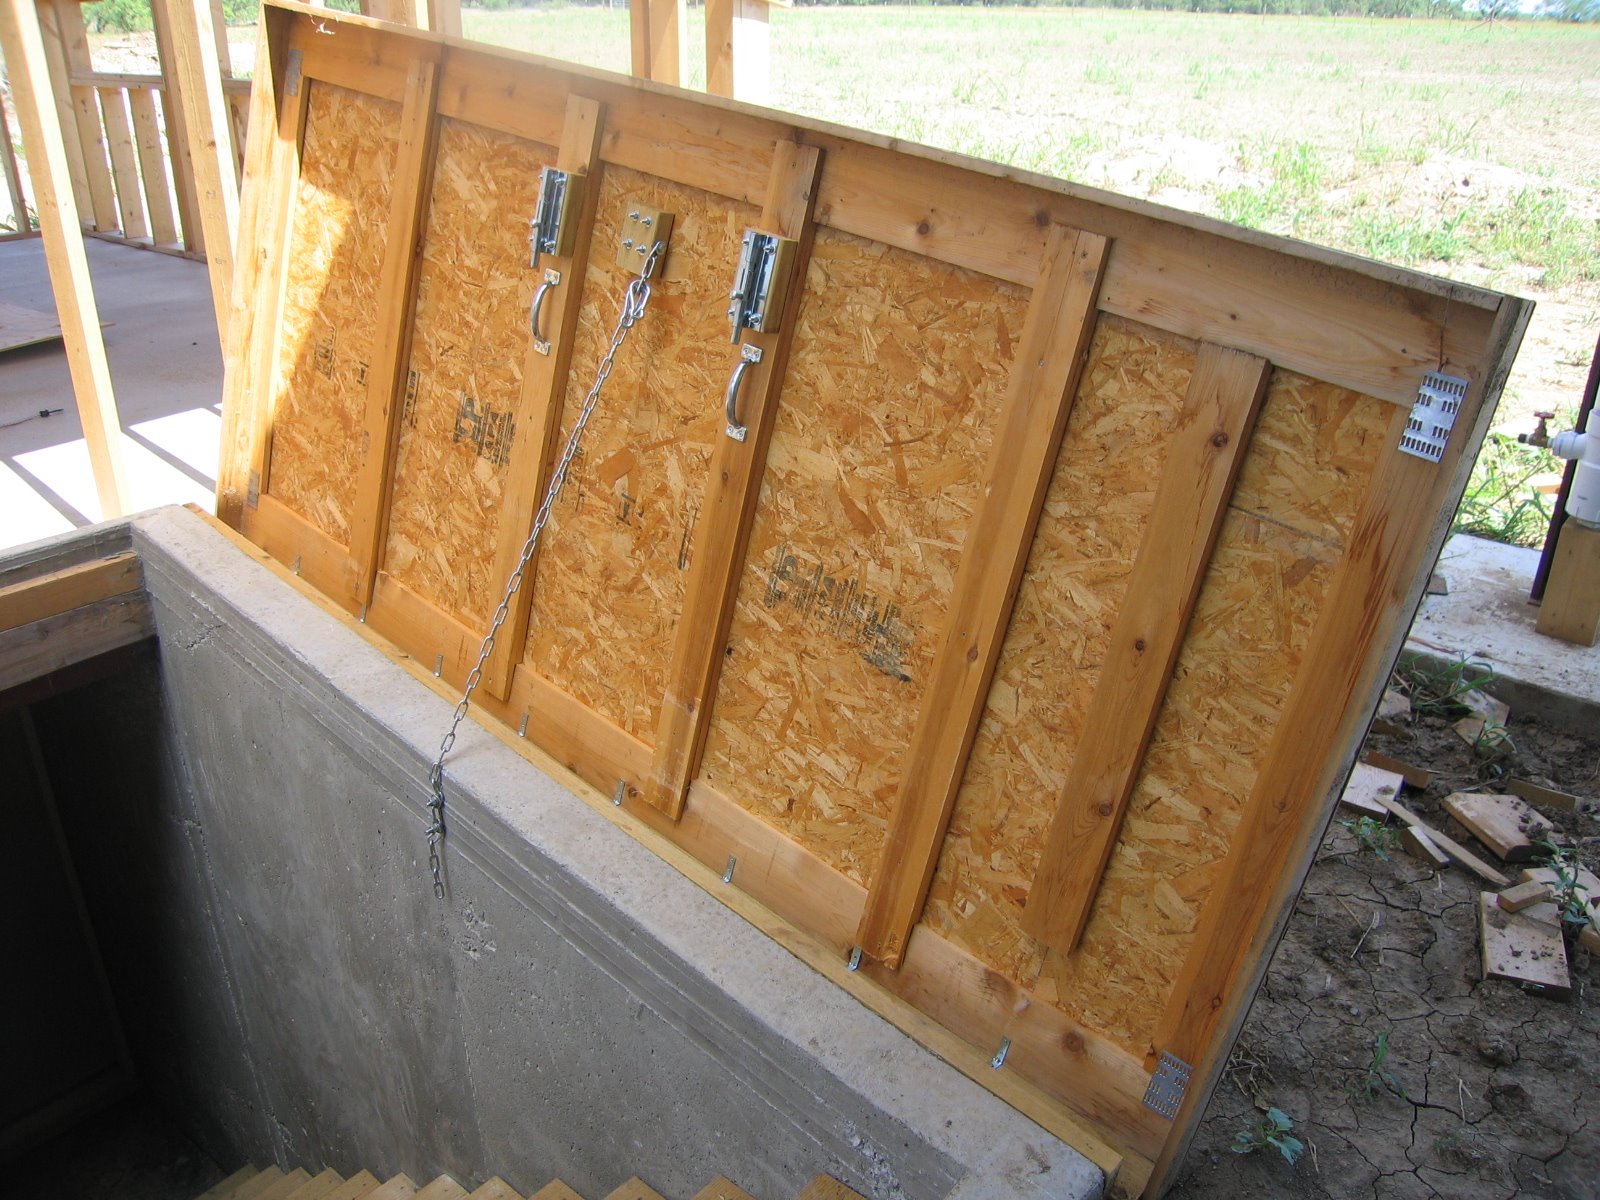
After that, I worked on the shelf tops, which I had chosen to be made from OSB. This part ended up more like a puzzle (which for me was sort of fun! :) ), in that, I had to sketch out the cuts of each board so they would fit around the wall studs; I would also have to cut the ends off in angles so that they would fit properly one against the other, being that things were not square. In drawing the stud cut lines, I used a 4' level placed against each stud's side to get the proper angle off of the stud. The front and back shelves were a bit more complicated because I couldn't fit the board piece into final position: I had to draw in the cut lines based upon a left to right offset, so that, after the original lines were drawn, they would have to be "moved" over by that much offset. And then finally once the tops of the shelves were in place, I decided to shave off any OSB overhang of the sides of the shelves, so that, if I ever decided to add a front barrier piece of wood to keep things from sliding off, it would lay flush.

Here's a picture of the general idea:


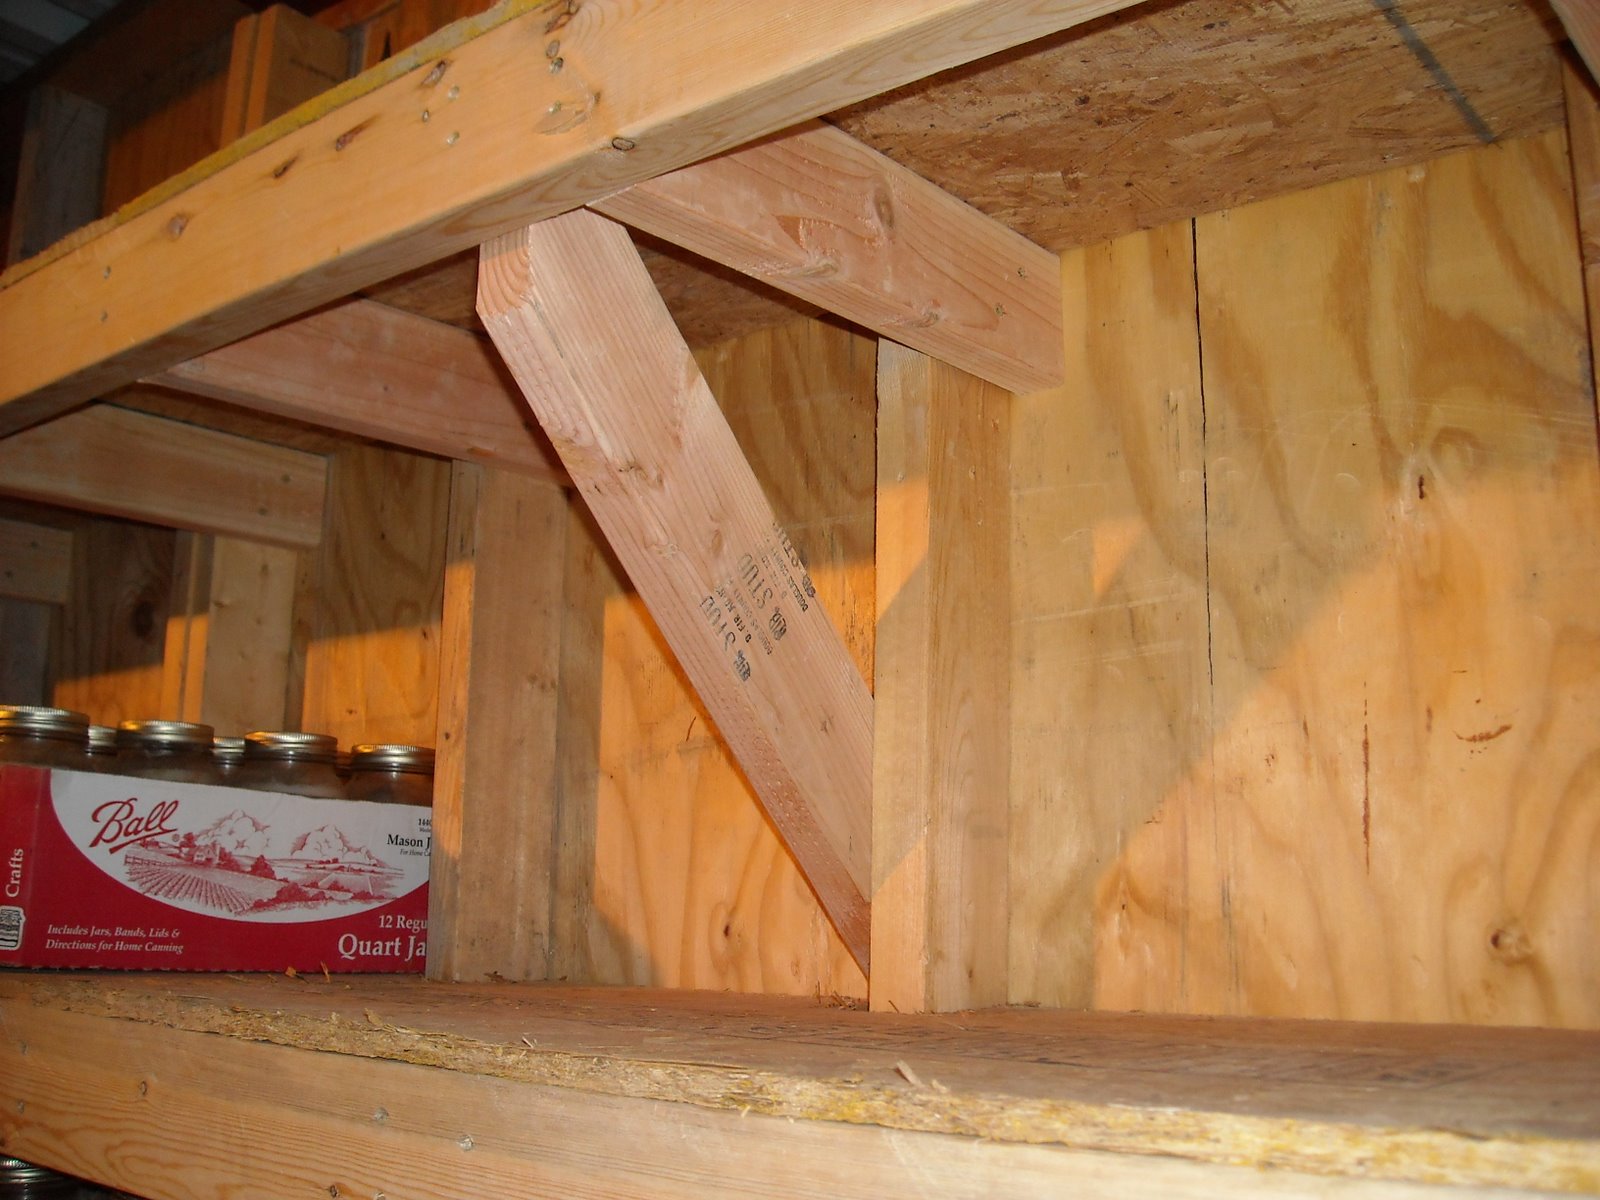
And so, here are the shelves. I was able to move much of our canned provisions into the root cellar too:


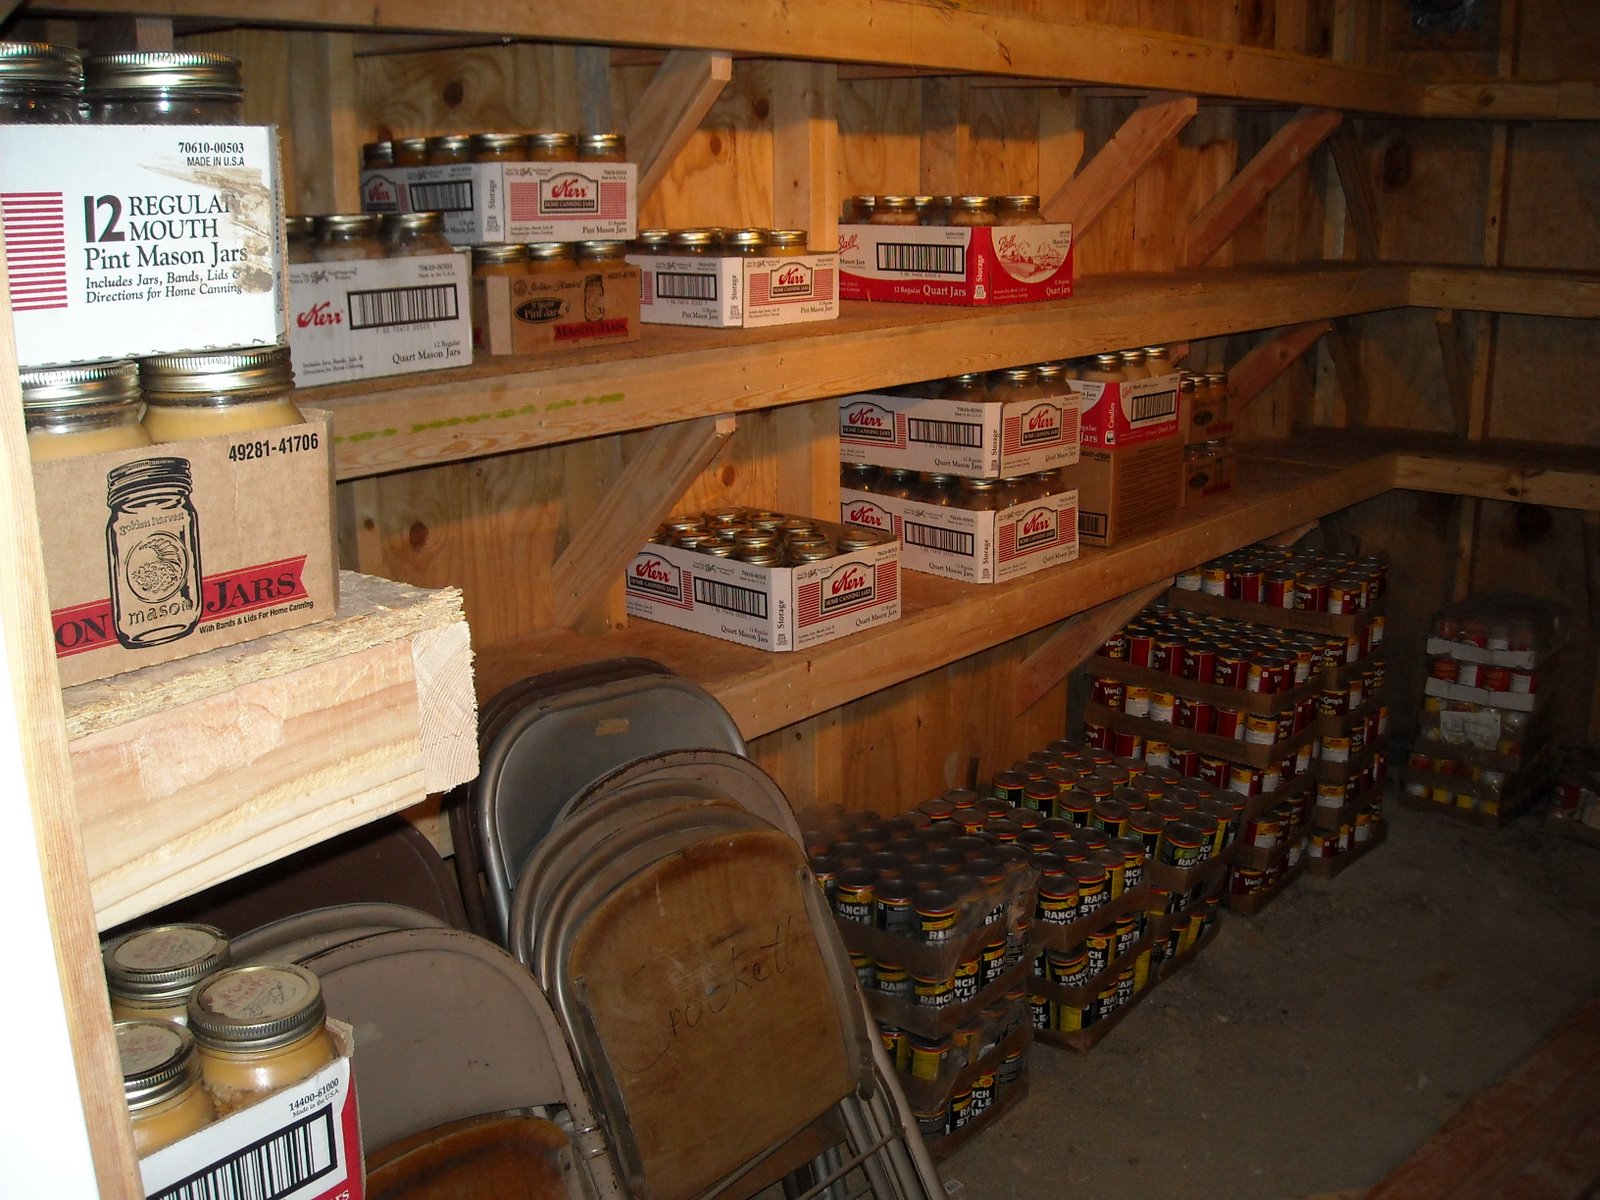
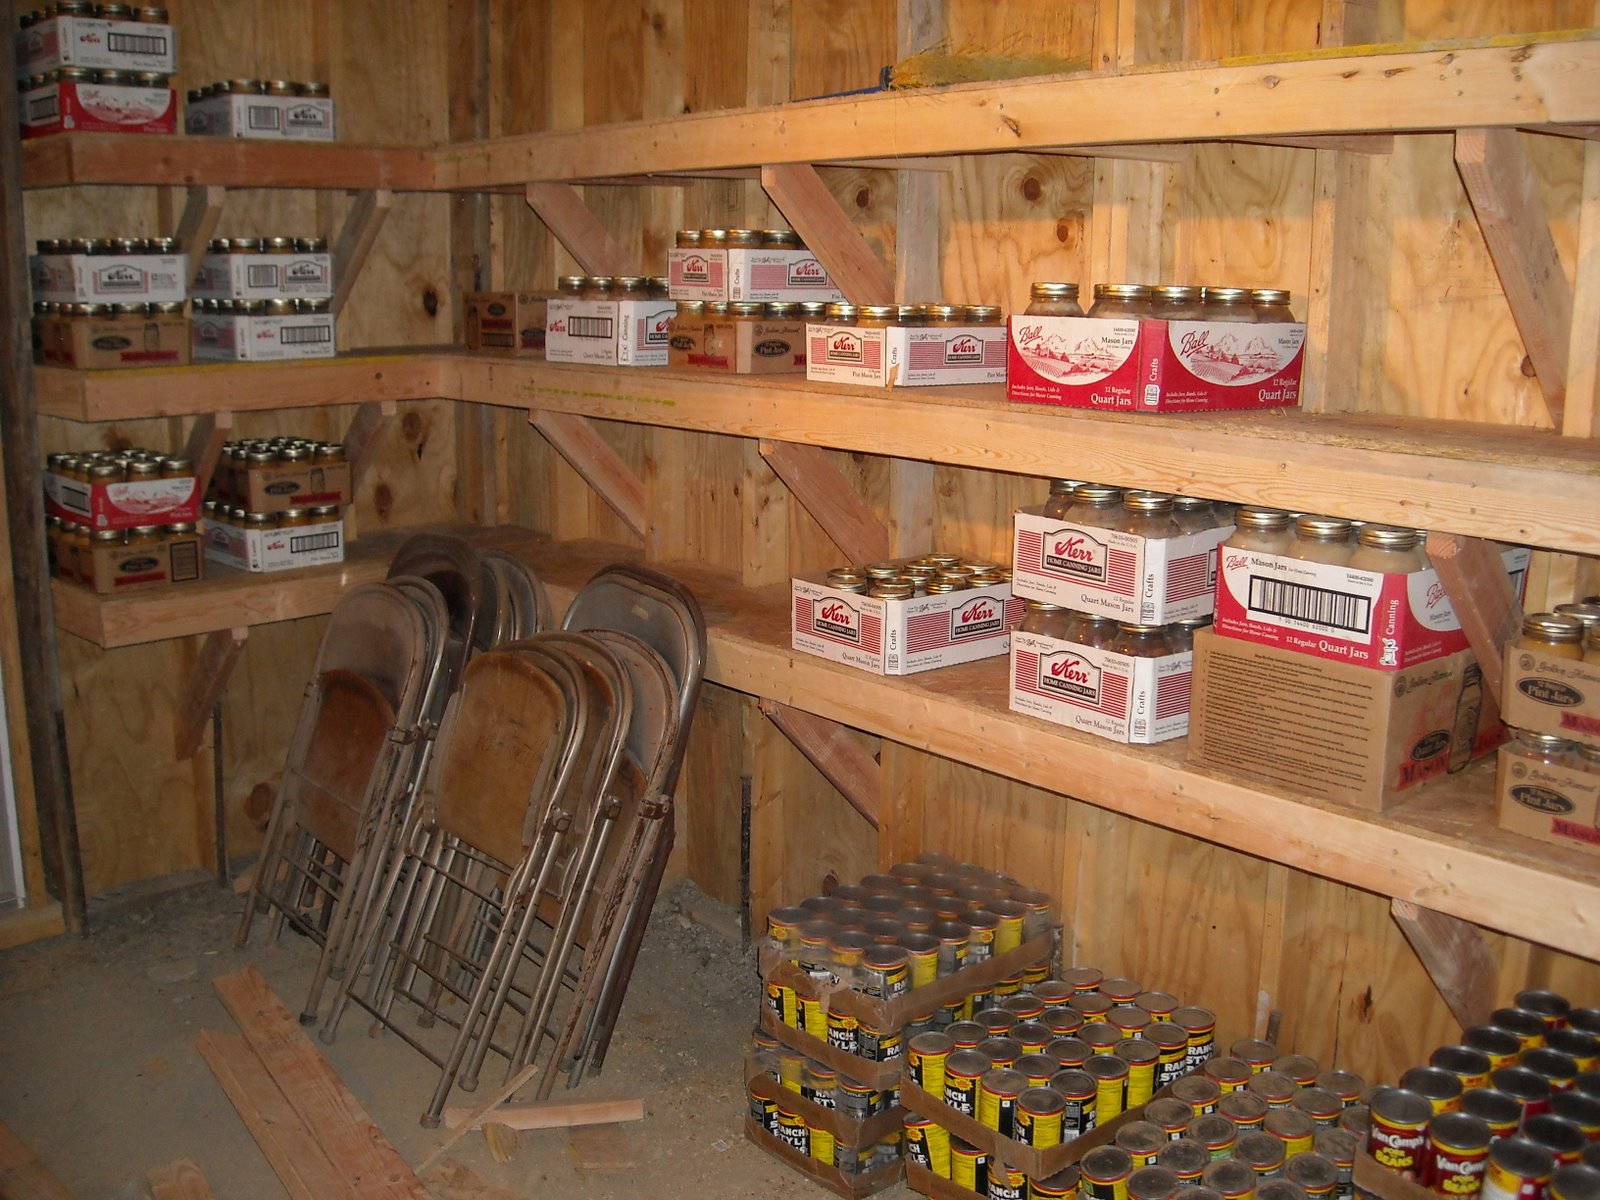
Interestingly, given the amount of time it has taken to get to this point, this actually completes the originally planned work on the root cellar. Yea!

Once again, we are grateful to the Lord for His provisions of food and for being able to hopefully store that food long-term.

-- David

Labels:

Bookmark and Share

Wednesday, September 17, 2008

Summer Kitchen

The original plan for the root cellar was to have a concrete slab on top, which would allow for the constructing of a building on top of it, thus creating a rather large insulation space to help keep the root cellar cool (plain air space is apparently a good insulator). We decided (at least at this point) to make this building a summer kitchen, allowing Sue and any of the women in the community who might want to use it, to cook and can the Lord's provisions in a hopefully ventilated and cooler environment and to not heat up their own houses. And so, the design was to have the north half be the kitchen; the south west quarter be a pantry for the kitchen; and because I would like to have a place to take up the piano again, I thought I'd make the south east corner a piano room.

This is personally my first real building project. While this is still a work in progress, here is a little tour of where it is today and the process by which we got there.

Building the walls:


Time for a "barn" raising. The Lord has granted us the fellowship of like-minded brethren (see here, here, and here) to help and show their love for other brethren:


A quick point of note: when securing a wall to its perpendicular wall at a corner, and in anticipation of internal walls, you not only have the corner stud, but you need another stud to be placed stud width plus 3/4". This will allow for the tacking up of internal walls. I did that for the corners of the building; however, I forgot about the middle dividing wall. And so, Lord willing if I do put internal walls in, I will need to add a 2x4 wall stud to support the internal walls:


Here is a backside view with the first wall braced:


And more "barn" raising:


"I think the meaning of life is that way."
"Yes, I see it!"
"I think the meaning of life is over here, and I'm now contemplating it."
"Yes, I see it!"
"Isn't it meal time?"


Welcome to the frame of our summer kitchen building:


To secure the building down, we anchored it with heavy-duty 4-5" concrete bolts:


Here is the structure with the roof put on. We used 24' long, 2x8 rafters for the roof, and then covered it with Solar Board to help with insulation. Notice here above each window frame now has a "header." This was suggested to me by our neighbor Logan, who has had more experience building. This is to keep the pressure from the rafters causing a sag in the window frames on the windows. Thanks to Logan:


The metal anchors are called "hurricane clips", and they apparently help tremendously with high winds:


We covered the roof with tar paper and then began installing the corrugated roof metal:


I continued with Solar Board for the siding, and this is how far I have worked on it:


The Lord is gracious and merciful.

-- David

Labels: , , ,

Bookmark and Share

Friday, July 4, 2008

Root Cellar/Storm Shelter

Part of our long term outlook is to be able to store food long term. Apparently, people did that for lots of years without freezers and refrigerators; and apparently, they did that in some way by storing food underground where the temperature, which can affect food adversely, is consistently cooler. Also, the weather here includes the possibility of tornadoes and severe thunderstorms. And so, we began to pursue building a root cellar/storm shelter.

Once again, I thought it was probably best to rent the backhoe so as to be able to remove quickly the quantity of dirt a room-size hole in the ground would contain:


Here is the dig in relation to the barn, generally. I had hoped to have the entrance to the root cellar sheltered so that if we needed to go into the root cellar during a hail storm we would be protected by the barn's North lean-to. However, the barn ended up needing to be constructed a little more away from the root cellar hole:


There comes a time though that the backhoe cannot reach all of corners and sides, and so the rest must be done by hand:


My idea initially was to build steel reinforced (rebar), concrete, cinder block walls. I was hoping to have a very long lasting, strongly built root cellar. Here, I laid out the foundation row in order to set forms to pour a concrete footer:


It appeared though the Lord had other plans. We were greatly blessed with an above-average rainfall last Spring. While that was great for the gardens, it wasn't so great for our root cellar project:


The walls caved in and buried just about all of what we had done thus far. It was a little difficult to watch; but we tried, with God's help, to maintain an attitude of trust in His will. And so the digging once again began.


By the time it was ready to go amidst all of the other projects on the land, it was around 6 months later. During that time, I had thought about the direction I was heading with the design of the root cellar; and decided that I would like to have something stronger, given the example of the caved-in dirt we had just experienced. At this point, I thought a concrete design would be best, and that we would build a slab for the cellar roof to allow for the construction of a building on top as the upper insulation for the root cellar. And so with that in mind, but again due to my lack in skills, I decided I might hire someone to pour it.

And so thus began once again the root cellar project.


They used steel beams for support and tin to support the roof:


In researching venting, I decided to put 4 inch PVP pipe in each corner, two high, two low, in opposite ends, to hopefully achieve convection if it got too hot in the root cellar:


Now comes the fun! Originally, the construction crew put X-braces between the walls in the root cellar to brace for the concrete, and 2 foot studs in the wall forms. And with that, the first concrete pour didn't go so well. In fact, they had to stop part way through because the walls were coming apart. They stopped, regrouped, and re-did all of the bracing, making a grid of braces this time, and placing the studs of the wall form at 16 inches:


And they tried again:


And by God's graces and mercies, they were successful!


All that was left were some steps to get down:


And a door:


Although this project took some 15 months to complete, we are thankful to the Lord for bringing us through the process He did, and we are grateful for the provision of the root cellar and storm shelter. May we all seek Jesus Christ and His righteousness alone as our only shelter from the storms of the wrath of God for our sin.

-- David

Labels: ,

Bookmark and Share